How to Roast and Freeze Hatch Green Chiles
Published Aug 04, 2021
Jump to RecipeThis Post May Contain Affiliate Links. Please Read My Disclosure
Hatch green chile season only comes once a year in late summer and when they’re gone, they’re gone! Roasting these prized chiles in your oven is not only easy but will fill your home with the tantalizing aroma only Hatch green chiles produce!
Here’s everything you need to know to roast, freeze and preserve their unique flavor for recipe-ready goodness all year long to enjoy in your favorite Southwestern-inspired soups, stews, chili, enchiladas, Cream Cheese Corn Casserole–just to name a few!

What are Hatch green chiles?
Hatch green chile is the generic name for chiles that only come from the Hatch Valley in New Mexico, located in the heart of the Rio Grande agricultural region.
Hatch chiles are to the Hatch Valley what Vidalia onions are to Vidalia, Georgia. The soil and environment in the Hatch Valley is the perfect combination for growing this prized pepper, in the same way, the conditions in Vidalia, Georgia yield the ultimate sweet onion.
That perfect marriage of soil and environment produces the perfect balance of flavor and heat. On the Scoville heat unit scale, they range from 2,000 to 8,000 heat units, which is similar to jalapeno peppers. In contrast, Poblano peppers range between 1,000 and 2,000 units while cayenne can range between 25,000 and 50,000.
When selecting Hatch chiles, select ones that are crisp, smooth, straight if possible (for even roasting) and appear freshly picked.

Why do you roast Hatch chiles?
How Hatch chiles are roasted in their native New Mexico adds to their mystique. They’re emptied into huge barrel roasters then blasted with a propane-fueled fire as the barrel slowly spins around filling the entire surrounding area with the intoxicating aroma.
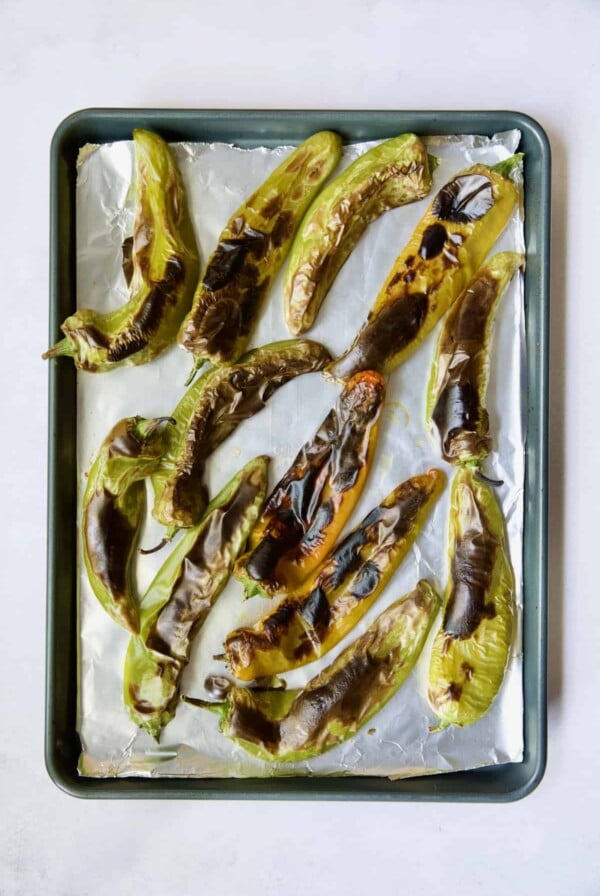
Hatch green chiles have a harsh taste when raw, so roasting them close to a heat source mellows that harshness and brings out their unique tantalizing smoky flavor. It also blackens and blisters the skin which makes it easy to remove.
You can blacken and blister them on your grill, any open flame such as a gas grill or even with a torch, but roasted Hatch chile goodness is as easy and as close as your oven! Let’s get roasting!
Step-By-Step Instructions:
Here’s all you do!
- Preheat your broiler to HIGH and position the rack 6-8 inches away from the broiler element.
- Line a large, rimmed baking sheet with aluminum foil to make clean-up super easy.
- Spread the Hatch green chiles out so that as much surface area of the chiles as possible will be exposed to the heat source.

- Place the pan underneath the broiler and let it do its thing for 5-8 minutes. KEEP AN EYE ON THEM! My broiler goes to 550 degrees and the process is very quick.
- When they’re blackened on the first side, flip them over with tongs.
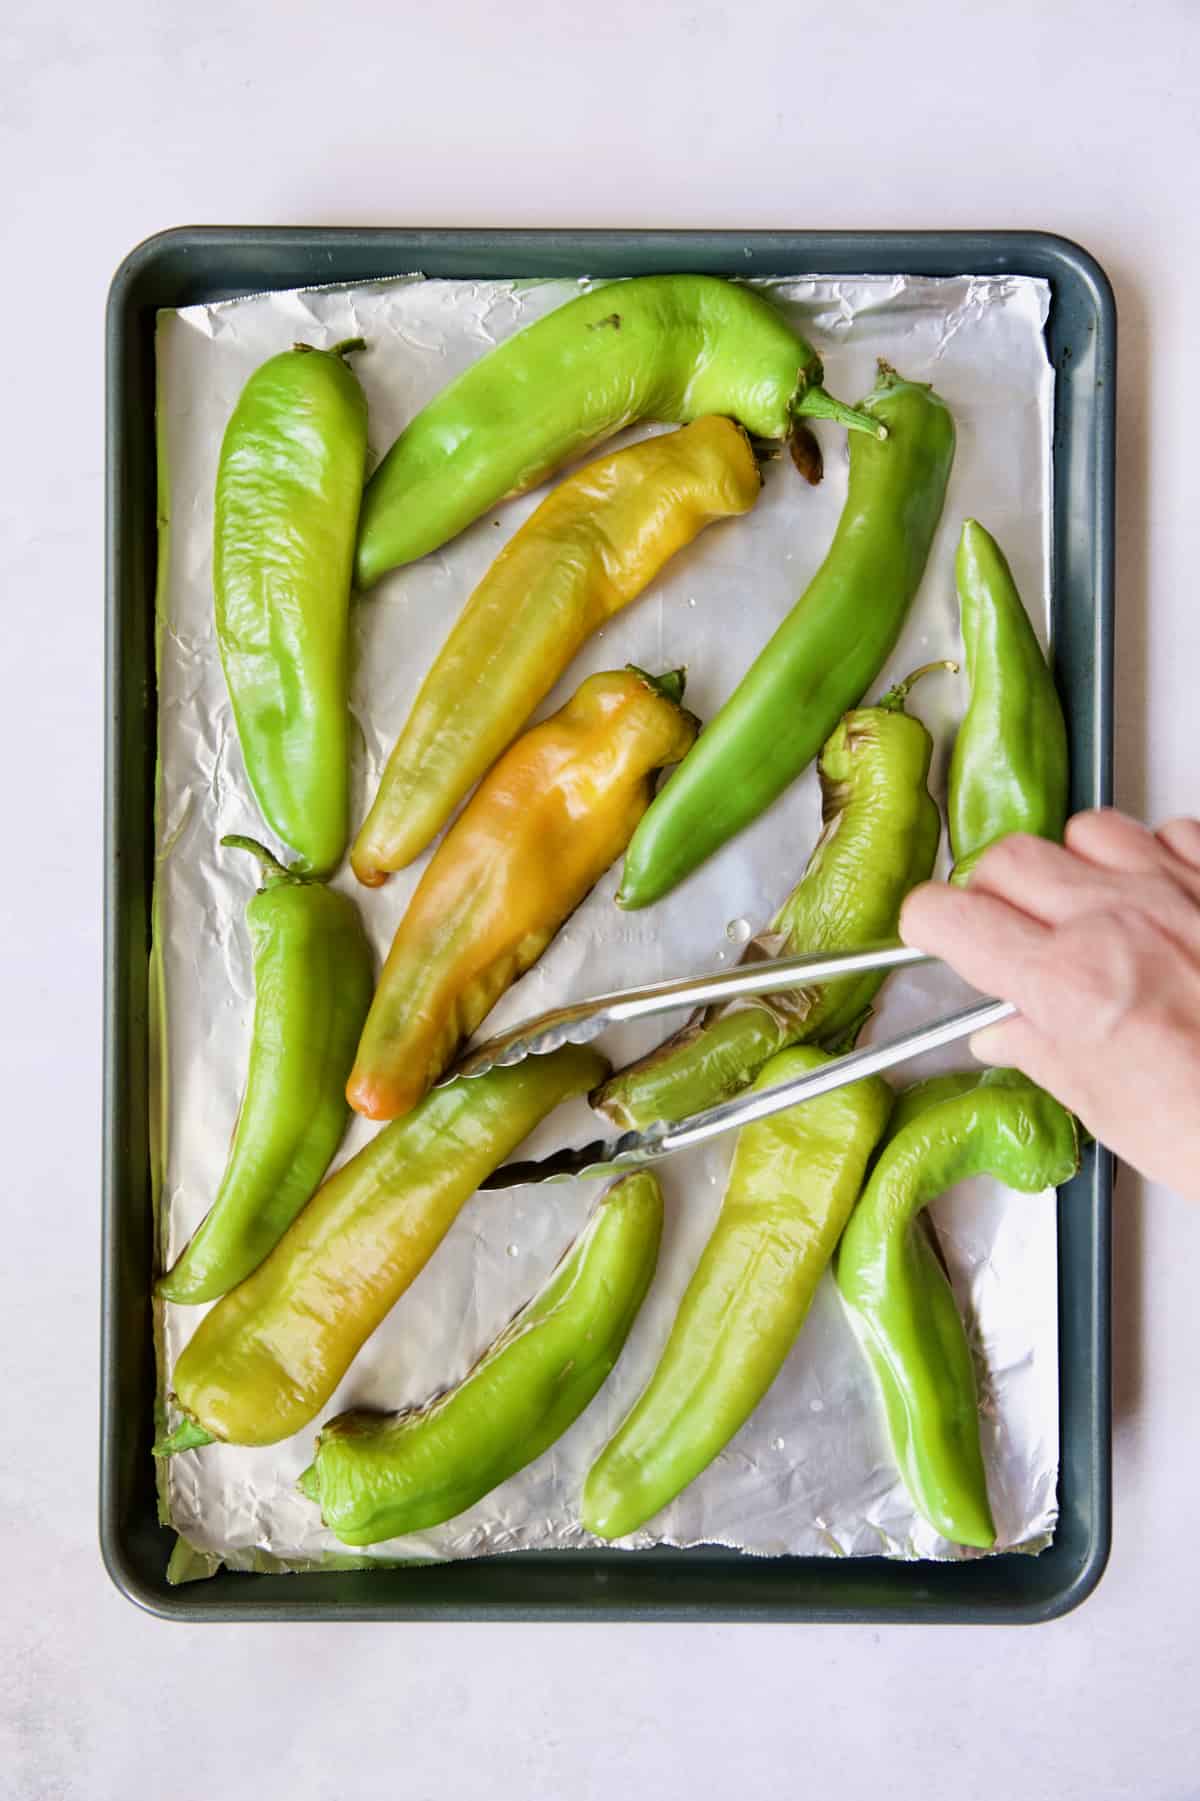
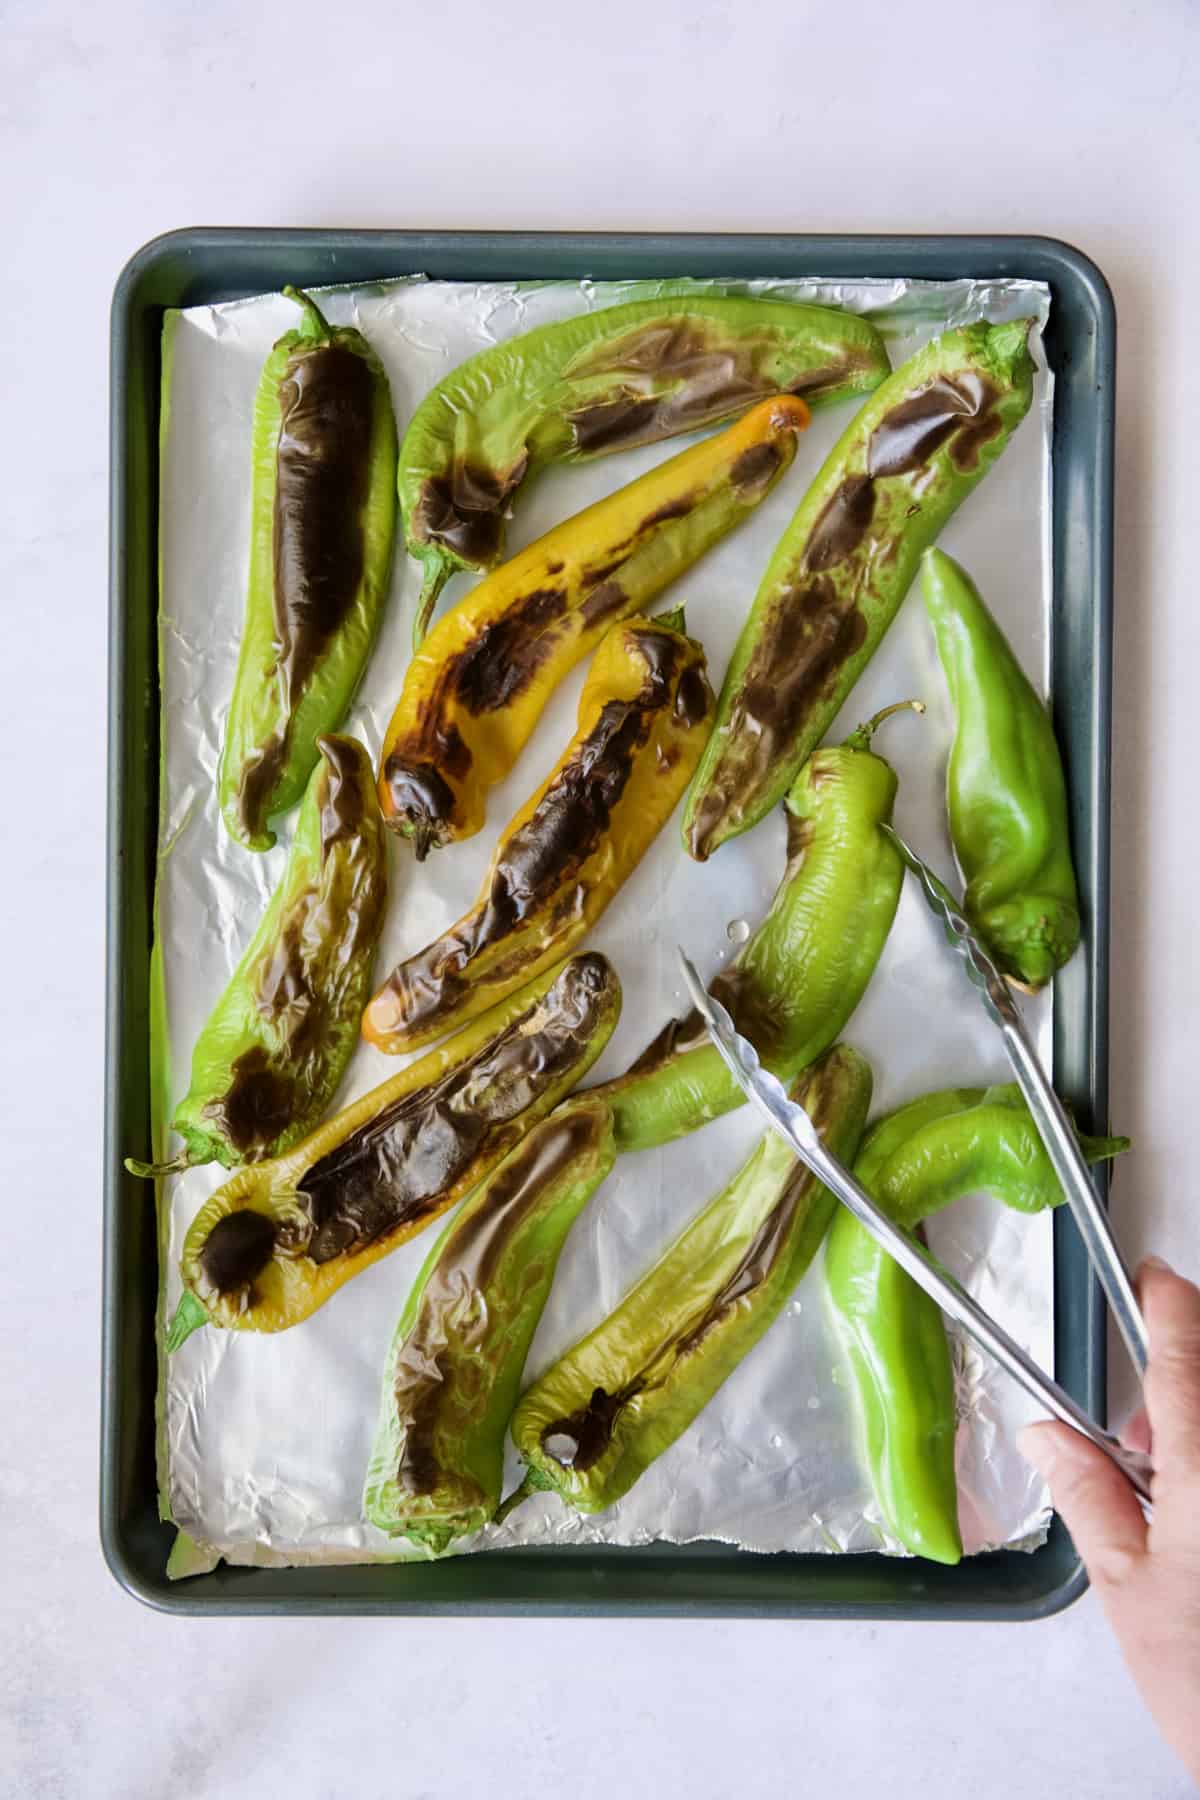
- Return the pan to the oven.
- Broil 5-8 minutes on the second side, again keeping a close eye on the chiles.

- Immediately place another sheet pan of the same size over the roasted chiles and let that sit for approximately 15-20 minutes.
- You can also place aluminum foil over the peppers, but the sheet pan method is less wasteful.
- Because the chiles are good and hot, they’re producing steam. Trapping the steam between the two sheet pans is going to make peeling the chiles much easier because it helps separate the skin from the flesh.

- Then, peel and seed the peppers.
- With everything that is in you, resist the urge to peel and seed the peppers under running water! You’ll get rid of all the seeds, but you’re also rinsing away flavor. A few seeds, unless you have to avoid them for medical reasons, won’t hurt a thing.
- You can seed the chiles with your hands or you can also place the pepper on a cutting board, then holding the stem end, scrape the seeds out with a soup spoon.
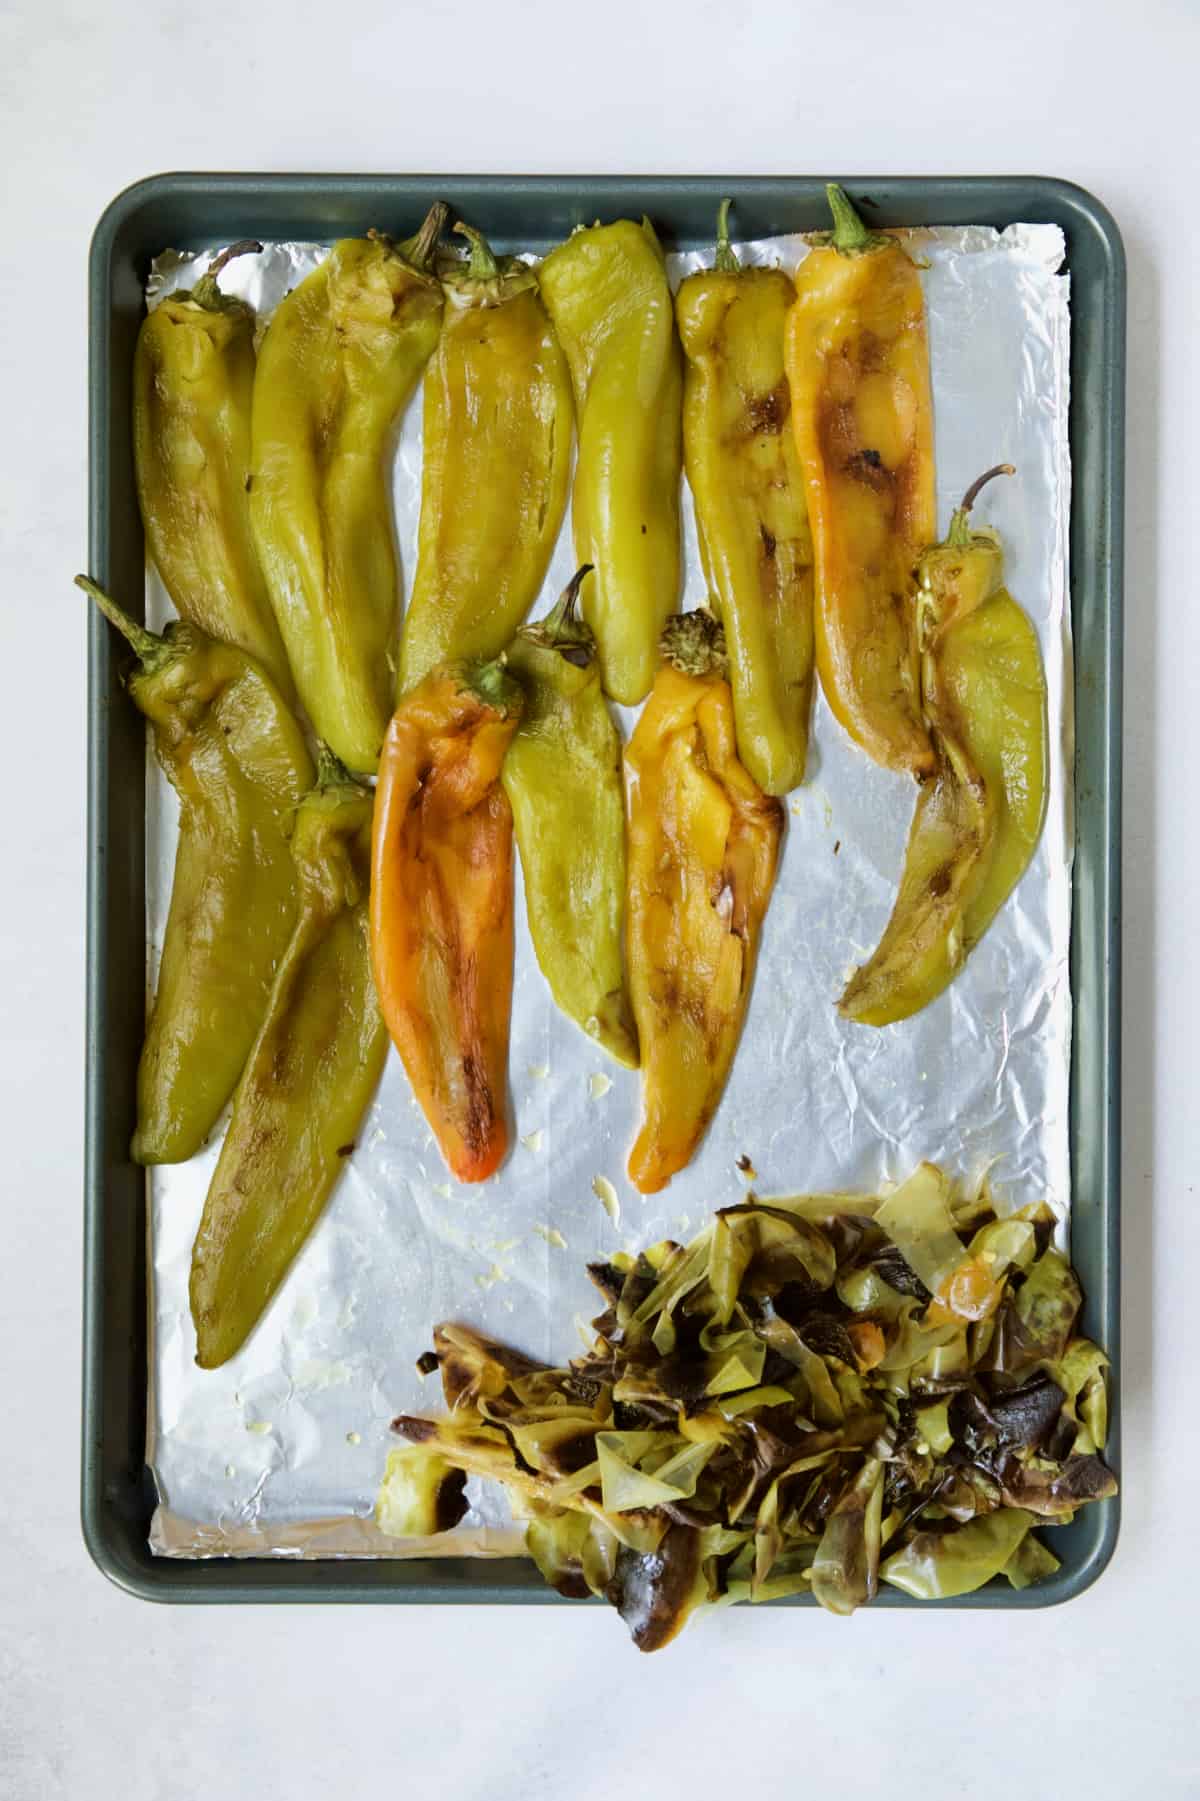
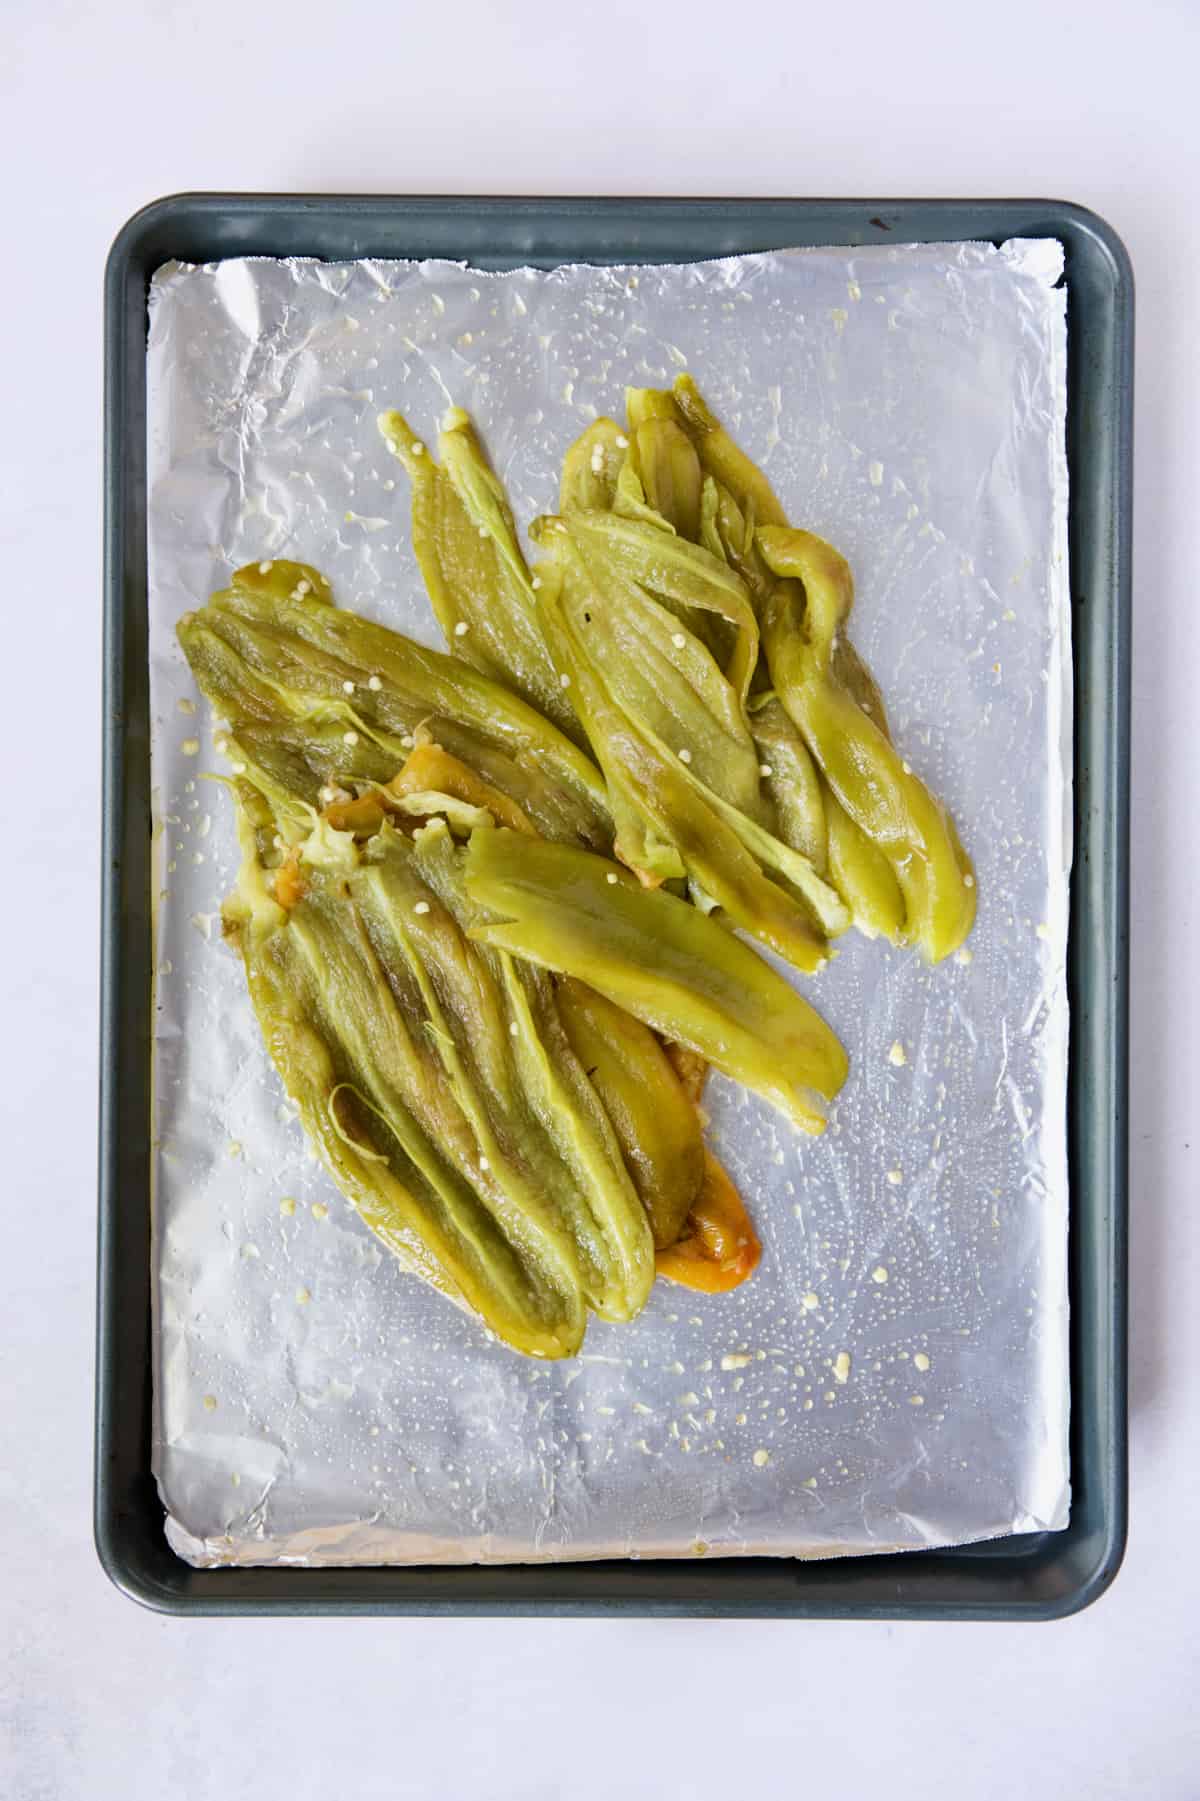
- You can freeze the chiles whole or freeze them chopped. I prefer to chop them before freezing so they’re recipe-ready.

- Place in zipper top bags and label. I like to use small, snack-size bags because the perfect portion is always ready to go.
- It’s much better to freeze in small portions rather than large because you might not need all those chiles if you freeze them in a large bag and you’re dealing with a Hatch green chile “brick.”

recipe faqs:
Yes! This same method can be used with any pepper or chile such as sweet red, yellow or orange bell peppers, Poblano peppers or jalapeno peppers.
If you leave the skin on, you’ll have black papery flecks in your dish. That’s not a terrible thing, but once roasted then steamed, the skin is VERY easy to remove.
It’s a good idea, especially if you happened upon the chiles close to the 8,000 Scoville heat units. You could get away with not wearing them for peeling, but for removing the seeds where most of the heat is, you definitely will want to have gloves on. If you brave it and don’t wear gloves, wash your hands immediately with soap several times and be careful not to touch any sensitive areas like your eyes.
The quality is best for up to four months, but when Hatch green chile season rolls around, we realize we still have some in our freezer from the prior year and hurry to use them and they’re still fine!
Make these recipes with Hatch green chiles!
- Green Chile au Gratin Potatoes
- Lima Bean and Potato Enchiladas with Hatch Green Chile Sauce
- Hatch Green Chile Mac and Cheese
- Green Chile Goat Cheese Stuffed Chicken Breasts with Cornmeal Pecan Crust
How to Roast and Freeze Hatch Green Chiles
Equipment
Ingredients
- 12 Hatch green chiles
Instructions
- Preheat broiler on HIGH and place a rack 6-8 inches from the element.
- Line a rimmed baking sheet with aluminum foil.
- Spread the Hatch green chiles out on the prepared baking sheet.
- Place in the oven and broil 6-8 minutes or until blackened, keeping an eye on the chiles.
- Flip the chiles over with tongs.
- Return to the oven and broil 5-7 minutes on the second side until blackened.
- Immediately place a baking sheet of the same size over the chiles and let rest for approximately 15-20 minutes.
- Peel and seed the chiles. Chop and place into snack-size zipper-top bags and freeze or use in your favorite recipe within 3-4 days.
Notes
Nutrition
Nutrition information is automatically calculated, so should only be used as an approximation.
 Like this? Leave a comment below!




Thank for sharing this recipe to enjoy hatch chilis year round.
Hi, John, Thank you so much! I appreciate your taking the time to come back and comment and rate!
I live in southern NM and I love the Hatch green chiles. We buy in large quantities and roast them every year. My question is, I have a large bag of frozen chiles and only need a small portion. If I thaw them, can I refreeze what I don’t use❓
Hi, Judy, Thanks so much for your question. Normally you shouldn’t refreeze things that are thawed but if you don’t thaw the entire large bag and just break off what you need as you’re able to, it should be fine. Just get the remaining portion back into the freezer before it totally thaws. I highly recommend storing chopped in small plastic bags so you can take out just what you need at a time. Thanks again and how great to live where they’re grown!
Do you have a suggested equivalent of whole chiles to measured, chopped chilies, e.g. 3 roasted chiles equals approximately 1 cup chopped? I realize the variable sizes makes this a rough guesstimate. Thank you for the easily followed instructions!
Hi, Heather, Thanks so much for your question and so happy the instructions work for you! There will definitely be variables, but I just roasted a bunch of Poblanos and got four roasted and chopped Poblanos to a half-cup. I also did a little online research and saw that on average, eight Hatch green chiles to a cup so that would be about right! Thanks again!
Good job on this post from a New Mexican!
Hi, Tamara, Thanks so much!! Really appreciate hearing that!